By Shannon Bates, @diaryofaladygardener - Shannon holds an RHS Level 2 in Principles of Horticulture, a Diploma in Garden Design and 9 years of real-world gardening experience spanning from nurturing her own houseplants and allotment plot to running a community garden in her local area.
Most gardeners look above the soil. They watch the leaves, the flowers, the fruit. But the answer to almost every problem in the garden is happening beneath your feet, in the soil itself.

When we moved into our current house, I was faced with the kind of soil that would make most gardeners sign: heavy clay. In summer it set like concrete, cracking into hard blocks that were almost impossible to water through. In winter it became thick and sticky, clinging to boots and tools. There were barely any worms, barely any insects. Just dense, compacted earth that seemed to be working against me at every turn.
My instinct was the same as almost every gardener's: dig it. Break it up. Physically force the improvement. So I dug, and dug, even though I knew from years of experience on my allotment that digging is almost always the wrong answer. There's something deeply instinctive about the idea that improvement requires intervention. Here's what I've learned.
Soil isn't a medium. It's a living organism.
Most of us have a picture of "good soil" in our heads: dark, fine, uniform, like what comes out of a bag. But bagged compost is largely lifeless. What makes soil healthy isn't how it looks, it's what's living inside it. The fungi forming mycelium networks between plant roots. The bacteria breaking down organic matter. The worms pulling it deeper. The insects aerating as they move through.
For the first several years of my gardening life I had no idea this was happening. I watched the plants. When something failed I assumed I'd done something wrong, wrong watering, wrong depth. It rarely occurred to me that the problem was the soil itself, and what wasn't living in it.

The moment I started looking down, checking roots, noticing fungi, counting worms, everything changed. It was a workshop with Eddie from Rhizophyllia on the food soil web that really captured my interest and made me look closer at my soil.
There's no single soil improver that does everything. The best results come from understanding what each one contributes and choosing the right combination for your soil type and growing goals. Here's an honest guide to the options worth knowing about, and how I have used them over the years.
"A soil improver, sometimes called a soil conditioner, is any natural material you add to your soil to improve its structure, fertility and biological life, rather than simply feeding the plant directly. Compost, frass, biochar, worm castings, green manures and leaf mould are all soil improvers, and each does a slightly different job. Here's an honest guide to the options worth knowing about."

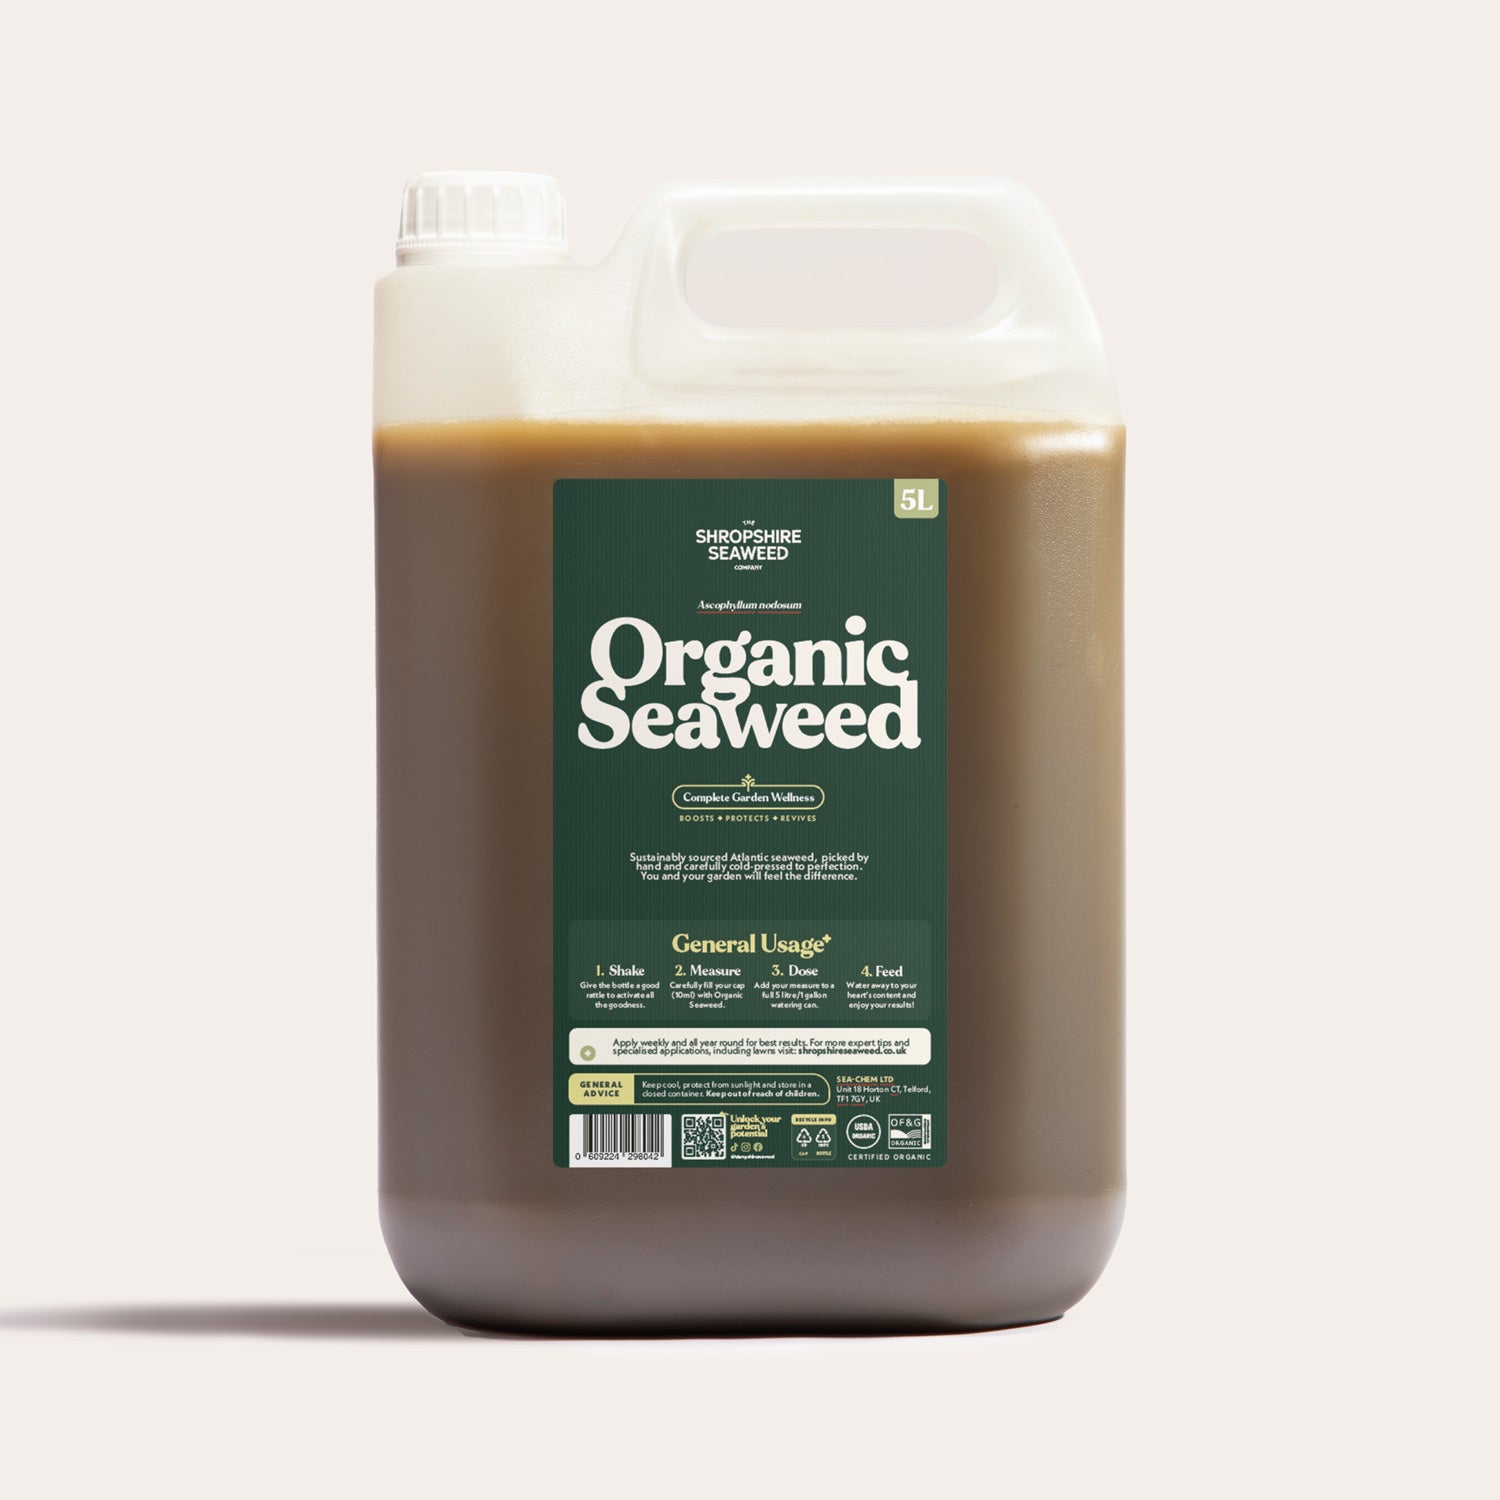
What is Frass?
Soldier frass is a natural by-product of insect farming. It is what remains after insects break down plant material, in our case, Black Soldier Fly. It's rich in nutrients, beneficial microorganisms and chitin - a natural compound that supports plant immunity, stimulates soil biology, and appears to be naturally off-putting to slugs and snails. It has a balanced NPK fertiliser profile that releases gradually as soil life breaks it down, making it particularly effective for improving both fertility and biological activity at the same time. It's certified organic, completely circular, and one of the most considered soil improvers available.
How to use frass
For seed sowing, a small amount of organic frass mixed into your compost helps create a light, free-draining growing medium. Its natural nutrient profile and slow-release nature support steady, healthy development from the earliest stage - giving seedlings a considered start rather than a forced one.
For beds, borders and pots, frass soil improver can be sprinkled over the surface, lightly worked into the top layer and watered in. It releases gradually as soil life breaks it down, so results build over time rather than arriving all at once. Apply early in the season and reapply every few months as a top dressing to maintain soil biology through the growing year.
For slug-prone plants, applying insect frass around the base of vulnerable plants like hostas may offer a natural layer of protection. Slugs and snails appear sensitive to chitin, and while frass won't replace a broader approach to pest management, it's a considered addition to a garden that's working with nature rather than against it.
For lawns, apply after mowing and gently rake in for best contact with the soil. This helps the nutrients and microorganisms reach the root zone where they're most needed.
"I started using frass as a top dressing on one of my new beds and within a couple of months noticed significantly more soil life: worms, insects, the kind of activity I'd been trying to encourage for years. In a second bed, I added frass into planting holes along with a compost top dressing and no-dig layer. During a recent heatwave, while the untreated clay bed struggled badly, this bed retained moisture throughout and every plant thrived."

What is Biochar?
Biochar is made by heating organic material at high temperatures in a low-oxygen environment in a process called pyrolysis. What's left is a highly porous, carbon-rich material that creates a long-term habitat for beneficial soil microorganisms. This improves water and nutrient retention, and sequesters carbon in the soil for decades. Unlike most soil improvers, biochar doesn't break down - it remains active in the soil, steadily improving structure and biology over multiple seasons. It works particularly well when used alongside frass or compost, which provide the microbial life that colonises biochar's porous structure.
How to use biochar
Before applying, biochar benefits from being charged first - mixed with a liquid seaweed feed, compost or worm castings for at least 24 hours before use. Because of its highly porous structure, fresh biochar can absorb nutrients from the soil before releasing them, so activating it first ensures it works with your plants from the start rather than drawing from them.
For seed sowing, a small amount of pre-charged biochar blended into your compost improves aeration and moisture retention without compacting around delicate roots. Its porous structure creates the kind of open, well-structured environment that gives young roots room to establish properly.
For beds, borders and pots, biochar can be worked into the top 10–15cm of soil or mixed into compost at roughly 10–20% by volume. It doesn't break down in the same way organic matter does - it remains stable in the soil for centuries — so think of it as a long-term investment in your soil's structure and biology rather than a seasonal amendment. Apply once and it continues working.
For lawns, apply as a fine top dressing after scarifying or aerating, working it gently into the surface so it reaches the root zone. This is where its water and nutrient retention properties are most valuable, helping the soil hold what it needs through both wet and dry periods.
"I recently added a bag of seaweed-inoculated biochar to the most difficult bed in my current garden, the one with the thickest, most compacted clay, followed by a frass and compost top dressing. It's too early to report results. But biochar's track record in difficult soils is strong, and I'm watching closely."

What is compost?
Compost is the most widely known, and used soil improver for good reason. Made from decomposed organic matter such as kitchen scraps, garden waste and cardboard, it improves soil structure, adds nutrients, feeds soil biology and increases water retention. Home compost varies in quality depending on what goes in and how well it's managed, but even imperfect compost is a valuable addition to any soil. For gardeners who make their own, it's also a free.
How to use compost
As a soil improver before planting, incorporate a generous layer - around 5–10cm - into the top layer of soil in beds and borders. This improves structure, adds organic matter and feeds soil biology ahead of the growing season. Avoid digging it in too deeply, as the most biologically active zone in healthy soil is the top 20–30cm.
As a mulch, spread 3–5cm over the surface around established plants and leave it to be worked in naturally by worms and rain. This suppresses weeds, retains moisture and steadily improves soil structure over time without any disturbance.
In raised beds and containers, compost forms the backbone of a good growing medium. Mix with other amendments - frass, biochar or leaf mould - for a well-rounded, biologically active growing environment.
In compost bays, adding frass to active compost heaps accelerates the breakdown process and boosts the finished product's nutrient profile. A light dusting between layers as you build the heap is enough to make a noticeable difference to the quality of the finished compost.
"My allotment ran on this principle for years. I added 2–3cm of compost as a top dressing annually, never dug it in, and let the worms do the rest. By year five, what had started as dense, difficult clay had become free-draining, easy-to-work soil that was genuinely full of life."

What are worm castings?
Worm castings, otherwise known as vermicompost, are produced when worms process organic matter through their digestive systems. The result is an exceptionally nutrient-rich, biologically active material that improves soil structure, introduces beneficial microorganisms and supports healthy root development. They can be made at home using a wormery or bought ready to use.
How to use worm castings
Worm castings are gentle enough to use in direct contact with seeds and roots without any risk of burning, which makes them one of the most versatile soil improvers available.
In potting mixes and seed compost, blend worm castings with compost at a ratio of roughly one part castings to four parts compost. The result is a nutrient-rich, biologically active growing medium that supports strong early root development without overwhelming young plants.
As a soil improver in beds and borders, work a handful or two into the planting hole before setting plants in, or sprinkle over the surface and water in as a top dressing. The microbial activity in worm castings gets to work quickly, making them a good choice when you want to support a plant that's establishing or recovering.
As a liquid feed (otherwise known as worm tea) steep a generous handful of castings in a watering can of water for 24 hours, stirring occasionally. The resulting liquid is rich in soluble nutrients and beneficial microorganisms. Water directly onto the soil around your plants every couple of weeks through the growing season for a gentle, consistent boost.

What are green manures?
Green manures are fast-growing plants sown specifically to be cut down and incorporated back into the soil. Different varieties serve different purposes, for example, legumes like clover and field beans fix nitrogen from the air into the soil, while mustard and phacelia add organic matter and suppress weeds. They're particularly popular with no-dig gardeners as a way of building soil fertility between crops without buying in additional inputs.
How to use green manures
Green manures are one of the most low-maintenance soil improvers available. Once sown, they largely look after themselves, and the benefits they deliver are considerable for very little effort.
Sow in autumn on ground that has just finished cropping, or in early spring on bare patches that aren't yet needed for planting. Scatter seed evenly over the surface and rake in lightly - most green manure seeds establish readily without much preparation. Keep the area watered until germination if conditions are dry.
Cut the plants down before they set seed, ideally when they're still young and leafy, as younger material breaks down faster and is easier to manage. Leave the cut material on the surface to decompose naturally, or lightly incorporate it into the top layer of soil. Either way, allow two to four weeks for the material to begin breaking down before planting into the area.
"I've used green manures as winter cover crops with good results. It's better for soil to have something growing in it than bare, so it's great for times where there's not much else happening in the garden. The key is cutting at the right time, before they get away from you."

What is leaf mould?
Leaf mould is one of the simplest soil improvers available and it costs nothing but some time and patience to make. Collect fallen leaves in autumn, keep them damp in a simple wire cage or bin bag with a few holes, and leave for one to two years. The result is a dark, crumbly material rich in fungal activity that improves soil structure, increases moisture retention and feeds soil biology.
How to use leaf mould
Leaf mould is one of the few soil improvers that costs nothing to make and requires almost no effort beyond collecting the raw material. The main ingredient, fallen leaves, is available in abundance every autumn, and the process from there is largely a matter of patience.
To make leaf mould, collect fallen leaves in autumn and keep them contained in a simple wire cage, a wooden frame, or a bin bag with a few small holes pierced in the sides. Keep the leaves damp and leave them undisturbed. After one year you'll have a rough, partially broken-down material useful as a mulch. After two years the result is a dark, crumbly, fine-textured material ready to use as a soil improver or potting ingredient.

Understanding your soil type
Before improving your soil, it helps to know what you're working with. The four main types behave differently and respond to different treatments.
Sandy soil drains quickly often too quickly. It warms up fast in spring, which sounds like an advantage, but it struggles to hold onto moisture and nutrients, meaning plants can dry out and become deficient more easily. Sandy soil benefits most from organic matter additions that improve water and nutrient retention: compost and frass are particularly useful here.
Silty soil holds moisture better than sandy, but compacts easily and can form a surface crust that stops water and air penetrating. It's generally fertile but needs regular organic matter to maintain structure.
Clay soil is the most challenging to work with. It holds moisture well but drains slowly, compacts heavily, and is slow to warm up in spring. The good news: clay is naturally nutrient-rich. The work is improving structure and drainage, not fertility. Compost, frass and biochar are the most effective tools for clay.
Loamy soil is the ideal, a balanced mix that drains well, holds moisture and nutrients, and is relatively easy to work. If you have it, spring prep is about maintenance, not correction. A regular feed with cold-pressed seaweed fertiliser keeps things in good shape.
"Not sure which type you have? Take a small handful of damp soil and roll it between your palms. Sandy soil falls apart and feels gritty. Silty soil feels smooth and silky. Clay holds its shape and feels sticky. Loamy soil holds together loosely without sticking."

A case study
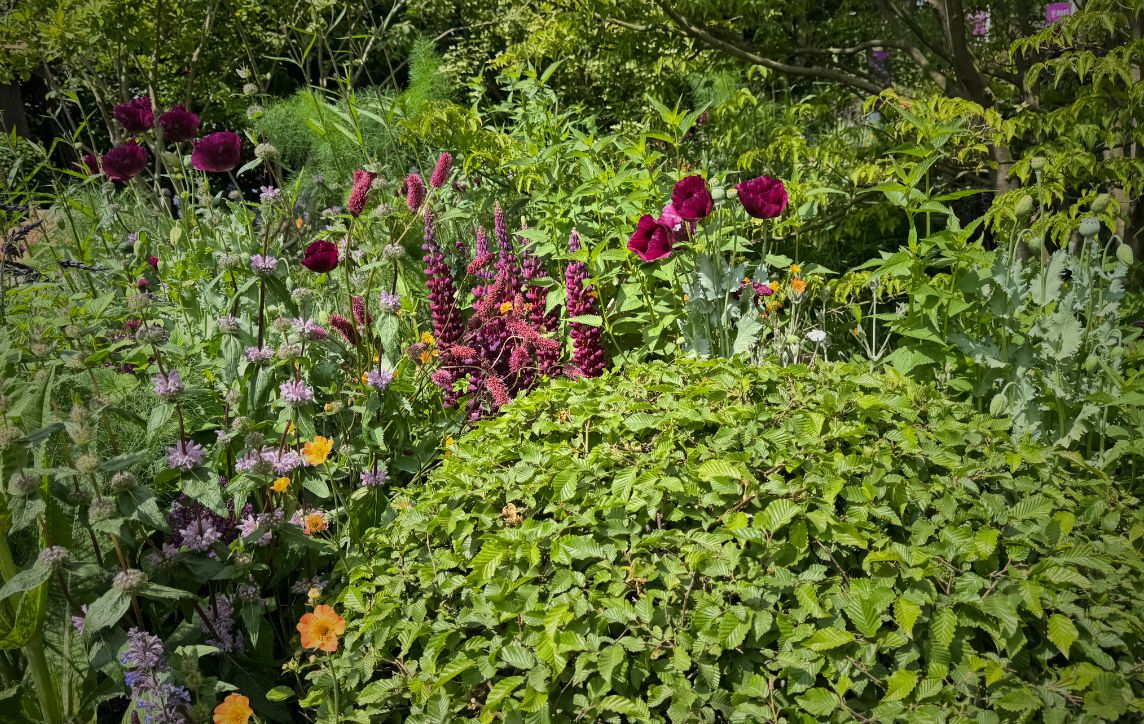
In 2022 I was growing flowers for two events simultaneously: my sister's wedding and an allotment garden I'd designed for RHS Hampton Court Palace Flower Show. All my saved water had to go to the show plants, they were in pots and their deadline was non-negotiable. My sister's flowers, dahlias, cosmos, zinnias, roses, received no irrigation at all through a dry summer.
In the beds I'd been working with no-dig for three to five years, the flowers thrived. Huge, abundant, exactly what I'd hoped for. In the two newer beds, only in their first or second year of no-dig, the plants survived, but barely. Fewer flowers, weaker growth, visibly stressed.
Same seeds, same care, the only variable was what was happening in the soil beneath them.
The hardest part of soil improvement is patience. In the first few months you'll likely notice more life, more worms, more insects, which is encouraging. But the deeper transformation takes years. Most people give up before they get there. They dig, they try something different, and every time they do they set the biology back.

How to know your soil is improving
Healthy, improving soil is crumbly and dark. It has a distinct smell: earthy, slightly sweet, almost mushroomy. When you dig a small patch you should see worms. Look closely at the roots of plants you pull up, a thriving mycelium network appears as fine white threads in the surrounding soil. And healthy roots on healthy plants are the clearest indicator of all: thick, white, well-branched root systems are a sign that the biology beneath is working.
Which combination is right for your garden?
For most UK gardens, a combination of compost or frass for fertility and biology, biochar for long-term structure and carbon sequestration, and leaf mould or green manures for ongoing organic matter is a well-rounded approach. The exact combination depends on your soil type. Sandy soils benefit most from additions that improve water and nutrient retention, while clay soils need help with structure and drainage above all else.
Our organic frass soil improver, cold-pressed liquid seaweed fertiliser and biochar soil improver are all available in the shop to help you grow a resilient garden this season. Free UK shipping on orders over £25. Explore our organic soil improvers.
FAQs
What is the best soil improver? There isn't one. Compost and frass are the best all-rounders for fertility and soil biology; biochar is the best long-term investment in soil structure; leaf mould and green manures are the cheapest ways to add organic matter. Most gardens do best with a combination, chosen for their soil type.
Is a soil improver the same as a fertiliser? Not quite. A fertiliser feeds the plant; a soil improver feeds the soil, its structure and the microbial life within it. Healthy soil then feeds the plant more steadily, and for longer, than a fertiliser alone. The two work well together.
Is a soil improver the same as a soil conditioner? The terms are used interchangeably. Both describe materials added to improve soil structure, drainage and biological activity rather than to feed plants directly.
When should I add soil improver? Most soil improvers are best applied in early spring before the growing season, or in autumn once beds have finished cropping. Biochar and compost can go in any time; green manures are sown in autumn or early spring.
Can I improve my soil without digging? Yes, and this is the recommended approach. Spreading compost, frass or leaf mould on the surface and letting worms and rain work it in steadily improves soil without disturbing its structure or biology. The no-dig method is not a shortcut; it's the most effective long-term strategy available.